You likely know that uncompressed images can hog up to 70% of your webpages total weight, leading to sluggish load times that can send your visitors fleeing. Compressing GIF reduces file size, enhancing page speed and user experience. With the right tools and techniques, you can shave off precious seconds from your load times. Its essential to balance quality and file size, but getting it right can lead to a 7% boost in conversions. Want to uncover the secrets to compressing images for a lightning-fast website?
Why Image Compression Matters
Why Image Compression Matters
When building a website, every second counts. Image compression plays a vital role in guaranteeing your site loads quickly. Uncompressed images can take up to 70% of a webpages total weight.
The Consequences of Slow Loading Times
- A slow-loading website leads to high bounce rates.
- This negatively impacts your user experience and ultimately, your conversion rates.
- A delay of just one second can lead to a 7% reduction in conversions.
The Importance of Image Compression
- Compressing images greatly reduces the file size, resulting in faster load times.
- This is essential for a positive user experience.
- When images load quickly, visitors can focus on the content and navigate through your site seamlessly.
A Better User Experience
- A well-designed visual hierarchy is important for a positive user experience.
- Compressed images load quickly, enhancing the overall user experience.
- This increases engagement and encourages visitors to stay on your site for longer.
- By prioritizing image compression, you can ensure a smooth, efficient, and engaging user experience that drives results for your business.
How Compression Affects SEO
How Compression Affects SEO
Did you know that compressing images can improve your websites search engine ranking by up to 10%? This is because search engines like Google prioritize fast-loading sites that provide a seamless user experience.
How Compression Impacts SEO Factors
- Page Speed: Compression can enhance page speed by up to 50%! Google loves fast-loading sites, and so do users.
- Mobile Responsiveness: Compression improves mobile responsiveness, which is a key ranking factor. This means your site will look great on all devices.
- User Experience: Compression enhances user experience, making users more likely to engage with your site.
- Bounce Rate: Compression decreases bounce rates, indicating a better user experience.
- Search Engine Trust: Compression augments search engine trust, as fast-loading sites are seen as more trustworthy.
Choosing the Right File Format
Choosing the Right File Format
When selecting a file format for your images, its essential to choose the right one to maximize compression efficiency and ensure seamless display across different devices.
Image Types and Suitable Formats
- Photographs: JPEG (Joint Photographic Experts Group) is ideal for photographs, providing high image quality at a relatively small file size.
- Graphics, logos, and icons: PNG (Portable Network Graphics) is better suited for these, as it supports transparent backgrounds and lossless compression.
- Simple animations and graphics with limited colors: GIF (Graphics Interchange Format) is suitable for these.
- Modern and versatile option: WebP (Web Picture) supports both lossy and lossless compression, making it a versatile option.
Balancing Image Quality and File Size
When selecting a file format, strike a balance between image quality and file size. Remember:
- Higher image quality typically results in a larger file size.
- Larger file sizes can negatively impact website load times.
Optimize Image Compression and Improve Website Performance
By choosing the right file format, you can:
- Optimize image compression
- Reduce file sizes
- Improve website performance
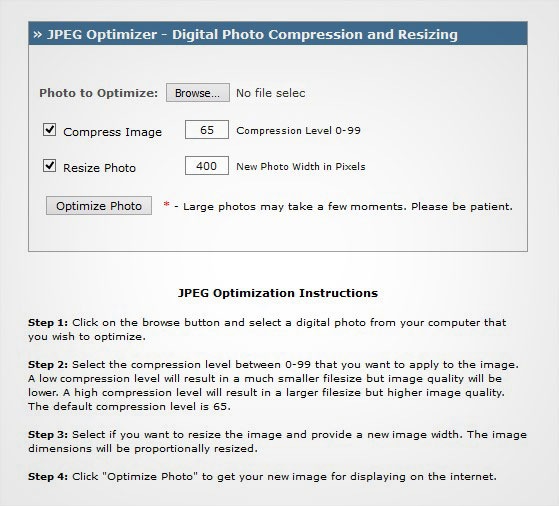
Tools for Compressing Images
Efficient Image Compression Tools
To efficiently compress images, you need tools that reduce file sizes without affecting visual quality. There are various options available, including image editors and cloud solutions.
Image Editors for Precise Control
Image editors like Adobe Photoshop and GIMP offer built-in compression features. These tools provide fine-grained control over compression settings, making them ideal for precise optimization.
Cloud-Based Solutions for Scalability
Cloud-based solutions, such as TinyPNG and ImageOptim, offer:
- Easy-to-use interfaces
- Advanced algorithms that reduce file sizes
These cloud solutions often integrate seamlessly with your workflow, making it easy to compress images in bulk.
Choosing the Right Tool
When selecting a tool, consider your specific needs and the type of images you work with. If youre dealing with large batches of images, cloud solutions might be the way to go. For more precise control, image editors are the better choice. The goal is to achieve efficient compression without sacrificing image quality.
Best Practices for Compression
Best Practices for Image Compression
When you compress images, you need to find a balance between file size and visual quality. You dont want to lose too much quality to make the file size smaller, but you also dont want your images to be too large and slow to load.
Choose the Right Format
- Use PNG or GIF for images with transparent backgrounds or simple graphics. These formats give you high-quality images with smaller file sizes.
- Use JPEG with a moderate quality setting for photographs. This reduces file size while keeping acceptable visual quality.
Optimize Image Metadata
- Remove unnecessary data like EXIF information and comments from your images. This optimization significantly reduces file size without affecting visual quality.
Streamline Your Workflow
- Use tools like ImageMagick or TinyPNG to compress images in batches. This saves time and makes your workflow more efficient.
Measuring Compression Success
Measuring the Success of Image Compression
After compressing your images, its time to see if it worked. Did your websites load times get faster? To find out, you need to compare your websites performance before and after compression. You can use tools like Google PageSpeed Insights, GTmetrix, or Pingdom to measure your websites load times and identify areas for improvement.
Heres what to do:
â?¢ Use tools like Google PageSpeed Insights, GTmetrix, or Pingdom to measure your websites load times.
â?¢ Compare the results to your pre-compression benchmarks to determine the effectiveness of your compression efforts.
Visual inspection is also important. Check if the compressed images still look good. If they do, youve saved money on bandwidth and storage. Calculate the cost savings by estimating the reduced bandwidth and storage requirements. This will show you the financial benefits of image compression.
Heres how to calculate the cost savings:
â?¢ Estimate the reduced bandwidth and storage requirements.
â?¢ Calculate the cost savings based on the reduced bandwidth and storage requirements.
Optimize your websites performance by compressing images, the secret to slashing load times and boosting conversions, but how do you get it just right?